How to Break a 3D Printer
 |
| Bent Hot End (Budaschnozzle) |
The print head is bent! How could this have happened! It was all going so well, but something had to break eventually. In this post I’ll try to explain symptoms and how this could have been avoided.
<div>
</div>It all started when I switch back from PLA to ABS. ABS requires much higher temperatures for both the glass bed and the extruder. I had copied a profile for PLA for slic3r and changed all the settings I need to change, but the evidence suggests I had forgot to save those settings. I ran a test print, and everything seemed to be going fine. The next day I reloaded what I thought was the correct settings and began to print.
<div>
</div><div>Symptom 1 - The printer wasn’t extruding enough plastic. I had thought that the printer was just jammed so I backed out the filament, cut it, and continued trying to print. I had a few mm through the extruder and it seemed fine. So I started a new print. The real cause was the temperature of the extruder was too low for ABS so the motor was working extra hard to get the plastic out, but I didn’t realize this yet. </div><div>
</div><div>Symptom 2 - The printer was producing wavy lines in the next print. This isn’t normal so I stopped the print, checked the head to see if it was tightened, and it seemed fine. I probably worsened the problem at this point, but I continued to try to print again. This time there was a cracking noise as the print head moved from the limit position to home position. The print head had collided with the side of the glass! At first I thought the mechanical limit for the Z axis had moved, but it was in the same place as it always was.</div><div>
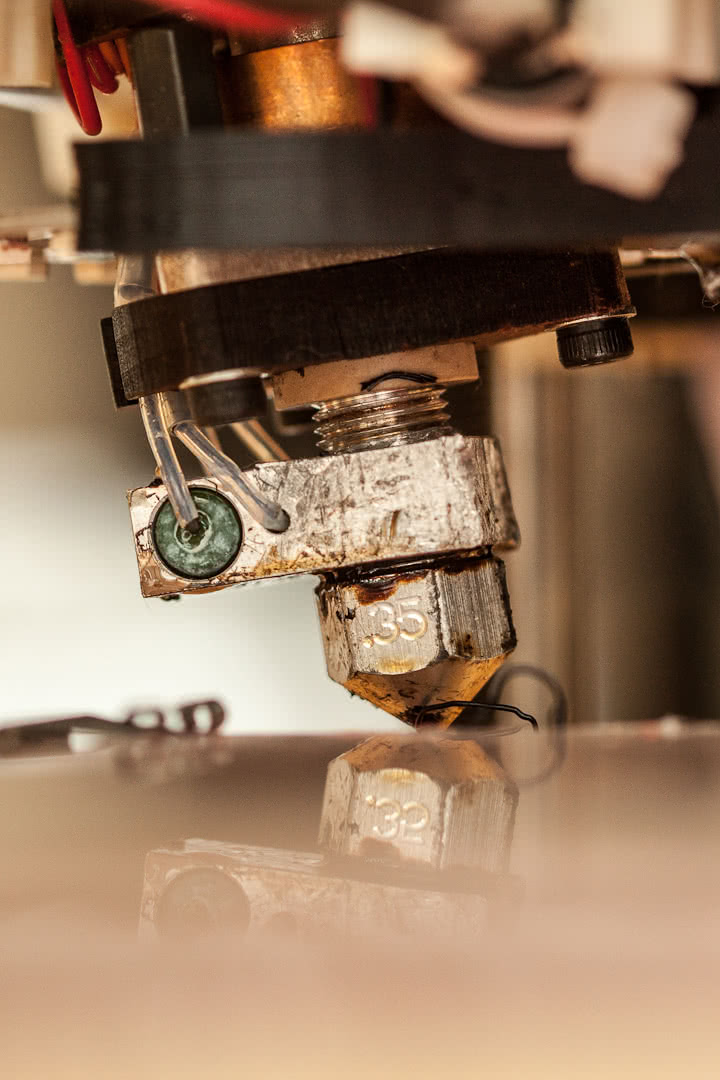
</div><div>The cause of the failure was a mistake on my part. The mistake was printing with the wrong temperature. The non-melting plastic put additional pressure on the print head, and since I use Wade’s geared setup the motor didn’t stall, the hobbed bolt didn’t slip, but the one plastic part in the print head had started to warp from the extra force. Someone on Reddit had pointed out that in a previous experiment I may have damaged the mount by printing over temperature, 245C. </div><div>
</div><div>Combined with the extra pressure and the heat, the mount for the print head began to warp slightly. The mount is ABS, and is relatively thin where it mattered. The motor had put enough pressure on the filament to warp the mount into a non-safe area and all it took was a simple collision to break. Well it really took two collisions. The first collision was small was enough to not notice immediately, but it was the extra force needed to warp the mount enough to trigger a bigger collision. </div><div>
</div><div>The damage from a few simple mistakes can be seen in the photos below. Both wooden pieces are broken, the plastic mount is ruined, but the metal parts of the head seem fine. Luckily, I think I can repair the damage with some epoxy and a drill press. At least I can repair it enough to print spare parts. I’ll definitely be buying another Budaschnozzle from Lulzbot. Its been really great, and now that I have an idea how to use it I don’t think I’ll be as abusive to the next one. </div><div>
</div><div>This could have easily been avoided if I had a working LCD screen on the printer. I would have quickly realized the temperature was wrong, and I could have fixed the problem. Another thing I will be doing in the future is lifting the nozzle head for movement to the bed. Because I use a glass bed, the setup on my printer allow the nozzle to accidently be driven into the bed without causing a problem. This is because the head is essentially sitting on nuts for the z axis threaded rod instead of being attached to them. However this doesn’t help in side to side strikes. Here’s a bit of gcode I’ll be inserting into the Start G-code section in Slic3r to pick up the head and bring it down on the glass.
G28 ; Home all axes to limit positions
G1 Z10 ; Lift nozzle to avoid collisions
G1 Y6 X31 ; Move to zero (Calibrated for this specific printer)
G1 Z0 ; Bring nozzle down
G92 X0 Y0 Z0 E0 ; Reset everything to zero
; Start print
One thing I keep telling myself now is “Why did I print all those test cubes when I should have been printing spare parts!” I’ll keep this in mind and as soon as the printer is up and running again I’ll print a set of spare parts for sure. </div><div></div><div>
<div class="separator" style="clear: both; text-align: center;"> </div>
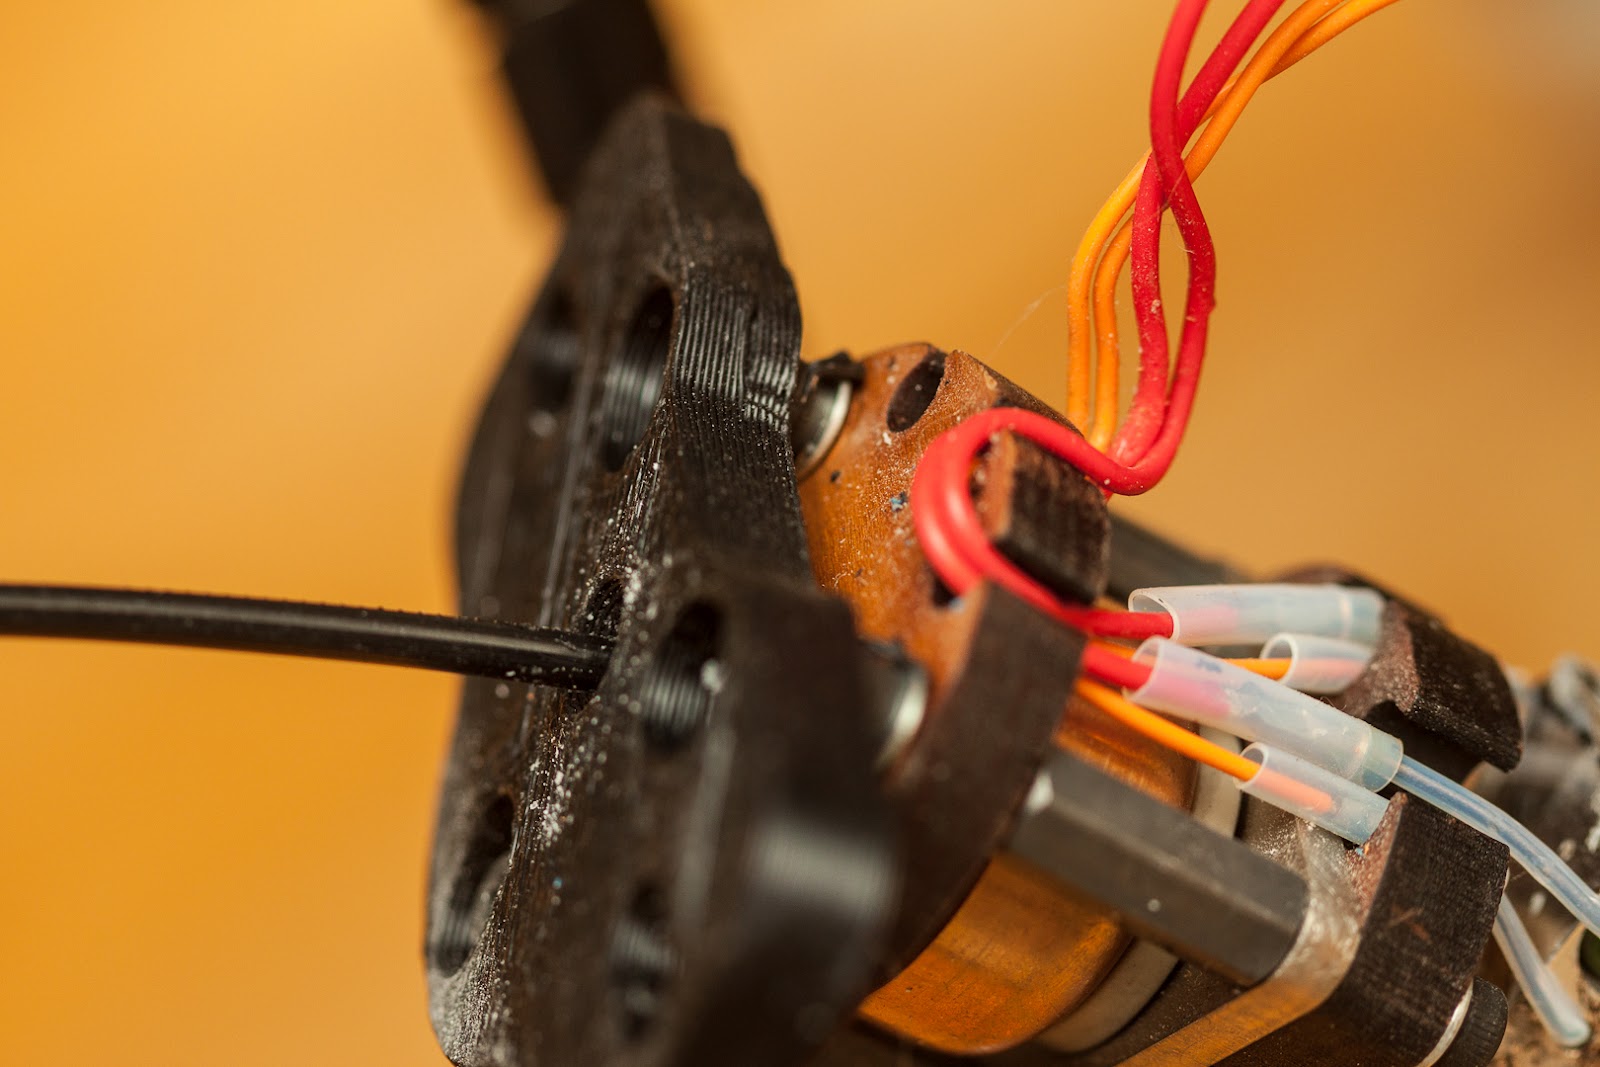

<div class="separator" style="clear: both; text-align: center;">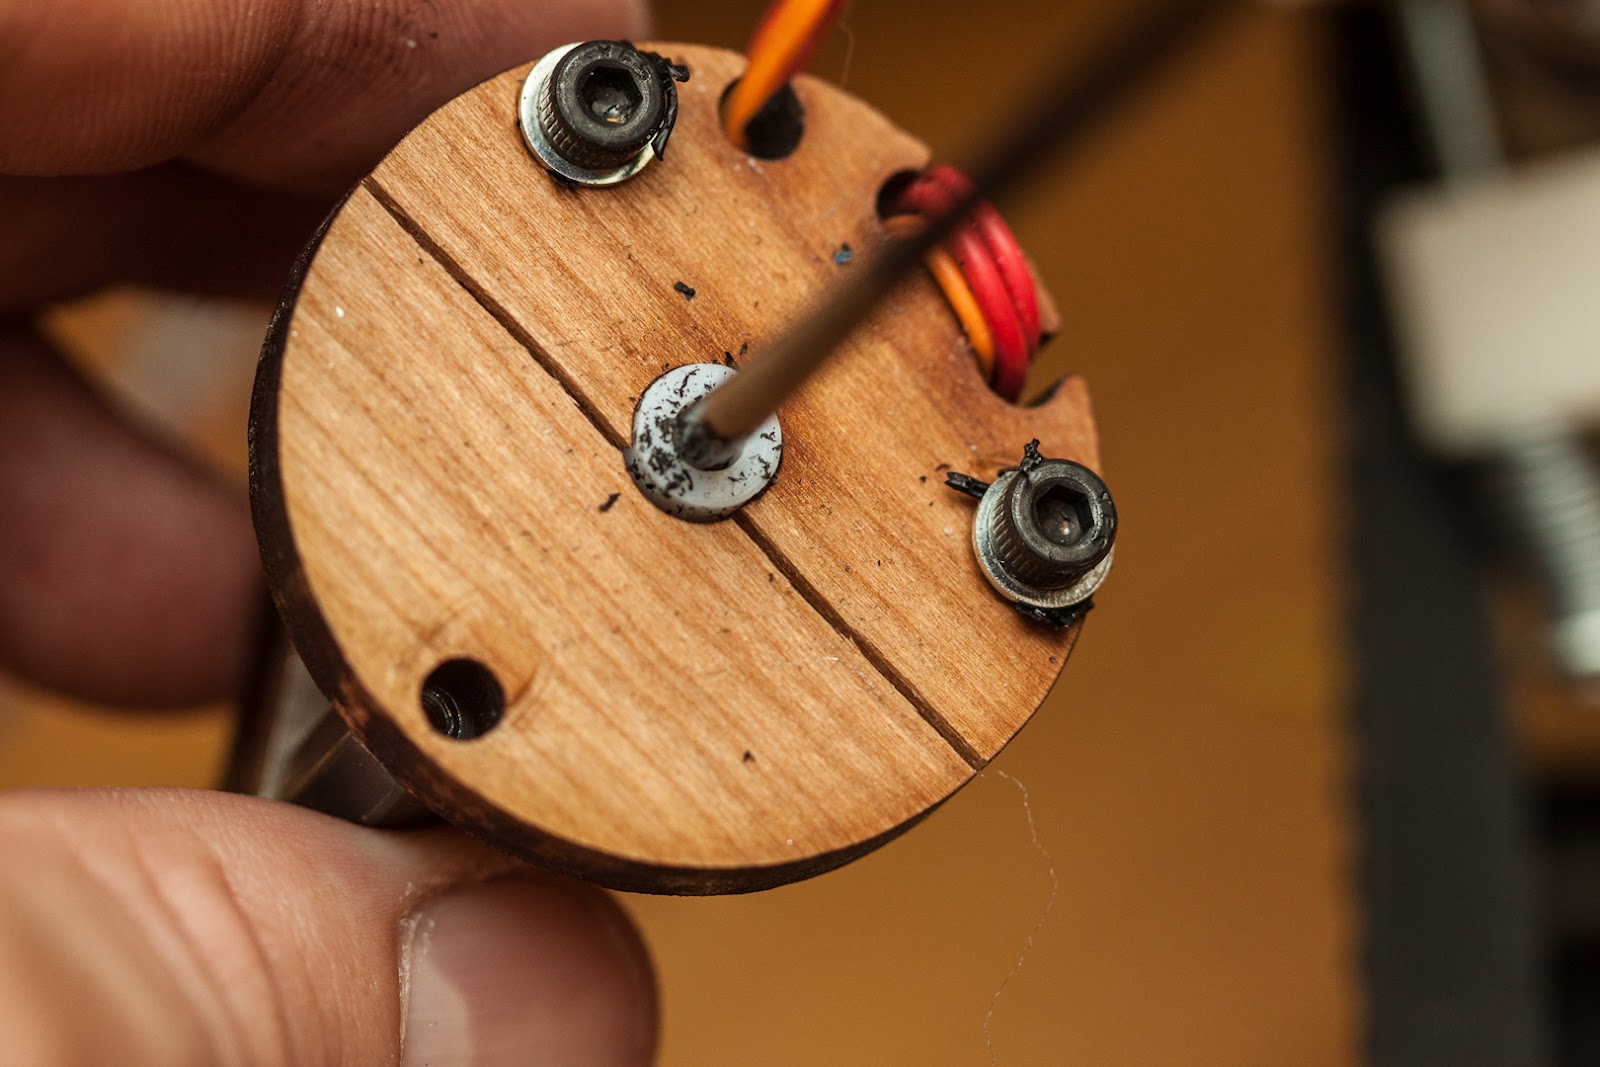 </div>

Update: I was able to fix the printer with a bit of epoxy, some wood glue, and a drill press. The printer is working fine now, but just in case I’m printing spare parts as test pieces from now on.
<div class="separator" style="clear: both; text-align: center;">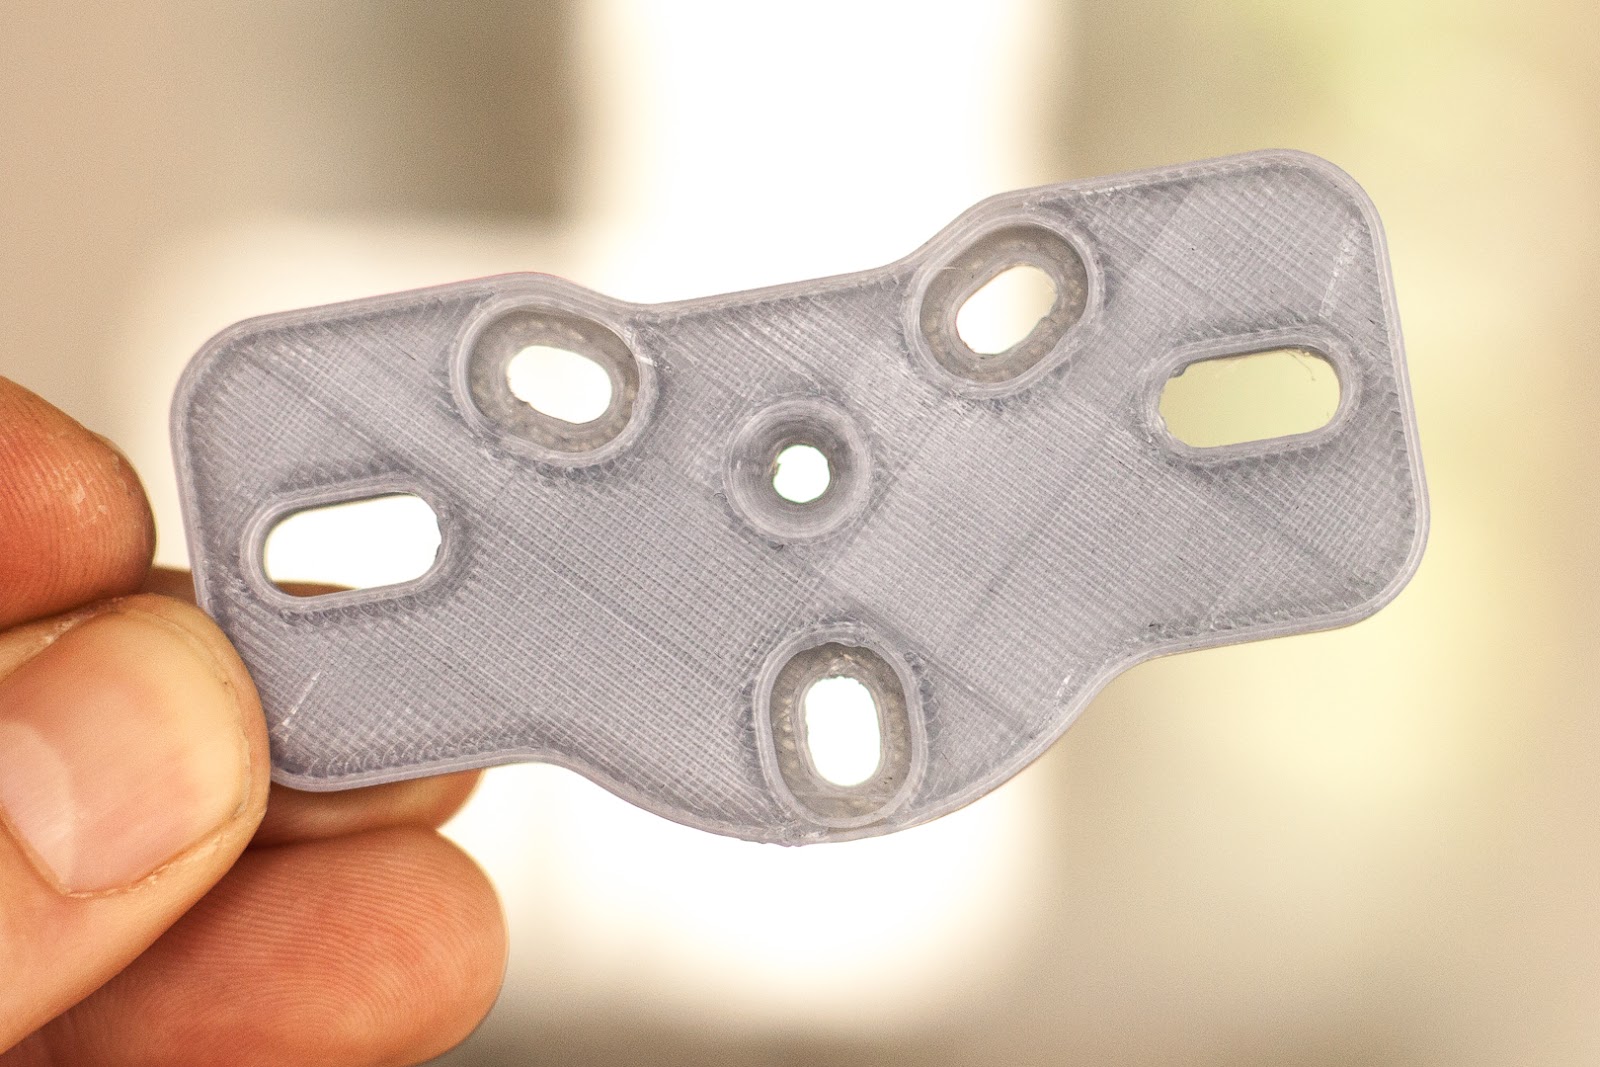 </div>
</div>