Robotic Arm Fun
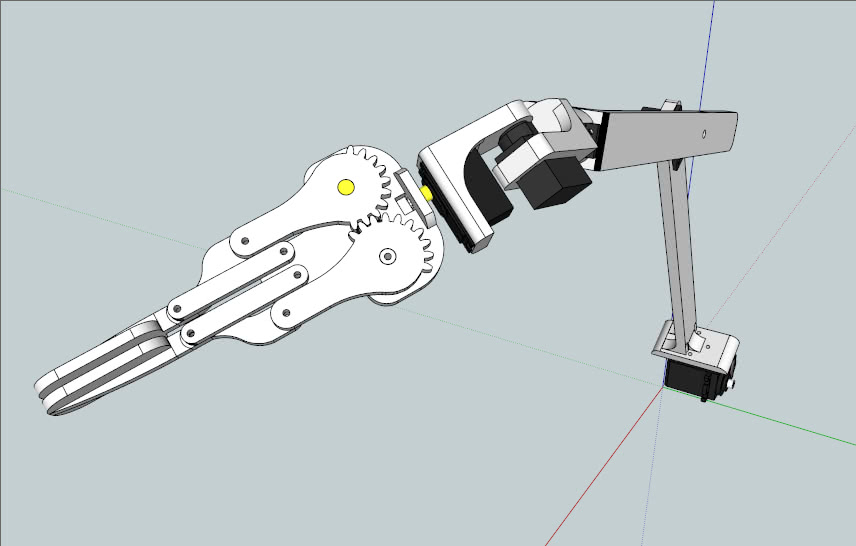
So what do you do when you have a week of free time? Built a robotic arm of course! I had a few smaller servos laying around and a pan and tilt servo kit I bought years before for a camera. It was all the pieces I needed to make a 6 dof robot with a gripper. Luckily, I work at a company with a 3D printer, and there was a night of free time on the machine coming up. So I did some research and spent a few nights drawing the pieces for the arm in Google Sketchup.
Here's a picture of the pieces being fabricated. It was a 9 hour print and used about 3 cubic inches of ABC plastic for the whole thing. I printed at the maximum resolution since there was a lot of spare time. Pretty amazing that we can just print objects these days.

The parts are printed with two materials, the main plastic and a support material. To get the parts after printing, we soak the whole thing, tray and all, in a bath to dissolve the support material, but it leaves the plastic parts untouched. After a night in the solvent bath, the parts were ready to be put together.
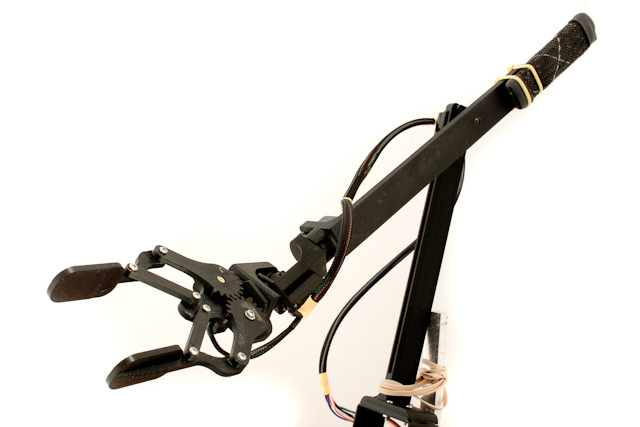
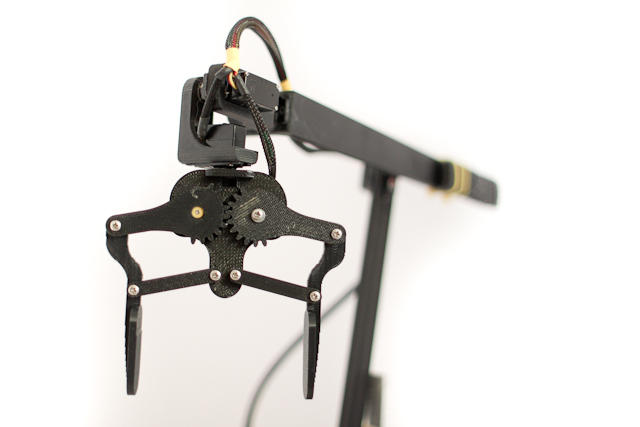
Another night of assembly, wiring, and testing, the robot was ready to run. The servos I have aren't very strong so it needed a little help. One joint is counter balanced with 4 oz of lead weight to support the gripper, and the shoulder joint is supported by a few rubber bands. This allows the robot to extend fully without putting too much strain on the servos. Plus I can lift a little more weight, although its still very limited. Initial tests show it can support the weight of two pens fully extended.
Now it comes down to the hard part, writing the control software for the robot. While the forward kinematics equations are easy and I can move the robots servos individually, I would like to specify better movements such as movement along lines or planes. I also want to control it by joystick, and possibly have control over the internet, but that will have to wait for another day.